


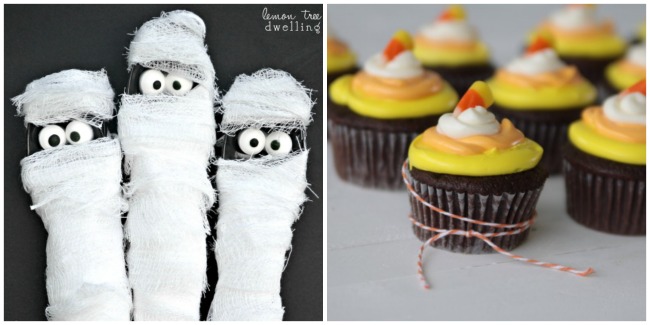
These adorable Mummy-Wrapped Utensils are made with just 5 materials
and are sure to add an extra dose of fun to your Halloween table!
and are sure to add an extra dose of fun to your Halloween table!

Good morning, everyone! I'm so excited for today - not just because I get to share another fun Halloween project with you - but because I get to be part of this amazing Halloween Blog Hop with so many other talented bloggers! I hope you will stay to link up your latest Halloween projects below. I can't wait to see what you've been working on! I've been busy creating fun and simple Halloween crafts, like the Spooky Spider Plates and Funny Pumpkin Pails I already shared with you, and I have one more craft for you today: these adorable Mummy-Wrapped Utensils!

I'm a big fan of wrapping utensils for parties, showers, and get togethers. I love the special little touch it adds to the table. So naturally, when I started thinking about a Halloween party, I knew that wrapped utensils would be part of it! And what more fitting way to wrap them than to look like mummies? Of course!! I started by picking up a few simple materials: black plastic utensils, white paper dinner napkins, cheese cloth, candy eyeballs, and edible "glue". I stacked the silverware (knife, fork, spoon), wrapped it in the napkin with the bottom corner folded up to secure it, and then re-wrapped it with strips of cheese cloth. I left just a small opening for the eyes and secured them with Wilton Cookie Icing. Voila! Fun & simple Mummy-Wrapped Utensils! Here's the complete tutorial:

Materials Needed:
- Black plastic utensils (I found mine at Dollar Tree, but any party store would also carry them)
- White dinner napkins (I used Chinet)
- Cheese cloth, cut into 1 1/2 inch strips
- 1 package candy eyeballs (I used Wilton)
- Edible "glue" (I used Wilton Candy Icing, but melted white chocolate would also work)
2. Place the silverware stack on top of the napkin, with one corner of the napkin at the tip of the knife and another corner directly below the base of the handle.
3. Fold the bottom corner of the napkin on top of the spoon handle, then fold the left side of the napkin on top of the silverware and roll until secure.
4. Starting at the bottom, re-wrap the utensils with strips of cheese cloth. When you get to the end of a strip, overlap the end with a new strip and continue wrapping.
5. Leave a small space for eyes; continue wrapping all the way to the top of the spoon.
6. Use small dabs of icing or melted chocolate to secure eyes in place. Lay flat to dry.

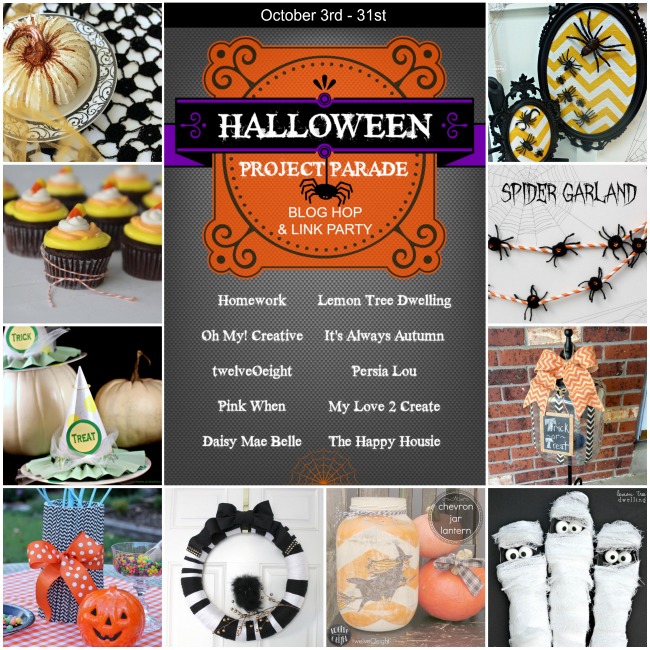
And now for the Halloween Project Parade Blog Hop & Link Party!
Let's get hopping with these fabulous Halloween Projects below! Stop by and follow along with these creative projects and inspiring blogs! Show us what you have been creating by joining in the Halloween Link party below. We will be showing and sharing them on social media - so link up!

This mummy wrapped silverware is so cute.
ReplyDeleteOMG, so cute!
ReplyDeleteThese are sooo cute!! Love it! I'm saying hi from the happy housie- fellow halloween blog hop cohost. I'm heading over to follow you on your social media!! Great to meet you
ReplyDeleteI might have to make have to make these for our annual Halloween pot luck. So cute! And I REALLY need to get some of these edible googly eyes!
ReplyDeleteThis is such a clever idea! My kids would love this for sure! So cute!!
ReplyDeleteWhat a great Halloween project. I didn't know they made edible eyes! Fun!
ReplyDeleteLOVE the Mummies~so FUN! :)
ReplyDeleteThis is beyond adorable - I love them and pinned them!
ReplyDeleteSo super cute! Those google eyes are just precious! Life to the full! Melissa @ DaisyMaeBelle
ReplyDeleteThese are awesome Cathy, what a great idea!! xo
ReplyDeleteAnother amazing idea Cathy - so cute! The girls got really excited when I showed them so yes, they will be on our Halloween table this year! :)
ReplyDeleteSuch an adorable idea! I want to throw a halloween party just so I can make these!
ReplyDeleteOH my heck, girlfriend. These are so cute!!! Featuring them tomorrow. P.S. You're kind of a feature hog. Your stuff always ends up being my favorite! :)
ReplyDeleteOh my gosh...these are too cute. Love the idea. Thanks so much for sharing at the Pinworthy Projects Party!
ReplyDelete